Off-the-shelf tools can get you part of the way there. For many teams and independent builders, though, they still force compromises on the features that matter most. So the default becomes an off-the-shelf tool, Asana, Trello, ClickUp, that almost fits the workflow but never matches it exactly.
There's another path between those two extremes. With Lovable, an AI-powered no-code builder, you can build a fully custom, deployable task management web application with authentication, real-time data, and role-based permissions in an afternoon, without hiring a developer. This guide walks through the process we use to take task managers from idea to production in a single session.
What Your Task Management Web Application Actually Needs
A production-ready task management web application needs five core components, and defining them upfront helps you avoid rebuilding halfway through.
- Task creation and assignment. The ability to create tasks with a title, description, assignee, and due date, and assign them to specific team members.
- Status tracking. A defined workflow that moves tasks through stages: To Do, In Progress, In Review, Done. This single architectural decision drives everything else.
- User roles and permissions. Controls that determine who can create tasks, who can edit them, and who gets read-only access.
- Deadline visibility. Start dates, due dates, and, for team use, task dependencies that define the sequence of work. A task tracker without deadline logic serves individuals but falls short for teams managing interdependent projects.
- Notifications. Active alerts that surface changes without requiring users to constantly check the web application. You need both passive indicators and proactive notifications.
These five components form the scope for everything that follows. Anything beyond them, time tracking, file attachments, Gantt charts, belongs in v2.
Plan Before You Prompt
The quality of your first build depends almost entirely on how clearly you define the web application before you describe it.
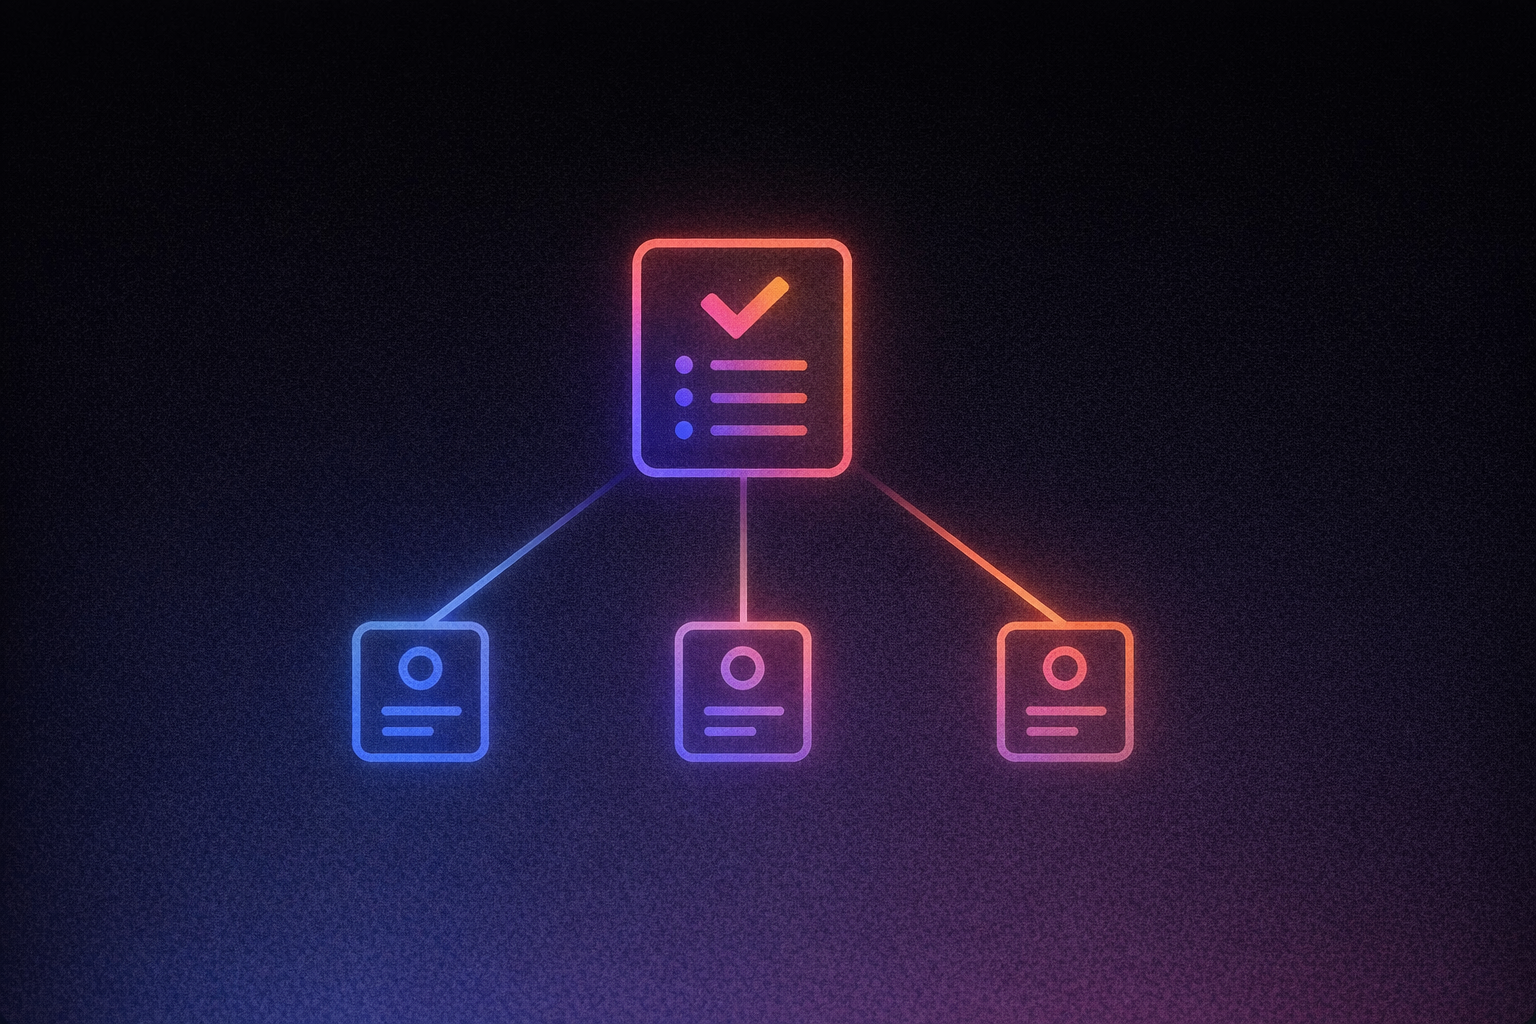
Map Your User Roles
Start with who uses the web application and what each person can do. A freelancer building a personal tracker needs one role. A team lead managing five contributors needs at least three. A consultant sharing progress with clients needs a read-only viewer role on top of that.
Write out each role explicitly. An Admin creates projects, invites users, and updates any task. A Member creates and edits their own tasks and updates assigned work. A Viewer sees tasks and projects they've been added to but can't change anything. The key detail most people skip: define what each role cannot do. Those boundaries are what prevent your web application from breaking the moment a second person logs in.
Define Your Data Relationships
Think of this as the invisible architecture underneath your screens. Tasks belong to projects. Projects belong to users. Each task has a status, a priority level, an assignee, and a due date. Comments live on tasks. When a task status changes, the project's overall progress should update automatically, and that only works if the relationships between these objects are clearly defined before you build anything.
You don't need to write database code. You need a clear mental model: when this changes, what else should update?
Identify Your Key Views
Decide which screens your web application needs before you start building. A login page. A dashboard showing tasks assigned to the current user. A project board with draggable columns for each status stage. A task detail view with editable fields and a comment thread. An admin settings page for user management.
This planning phase is where Agent Mode pays off. Autonomous AI development with independent codebase exploration, proactive debugging, real-time web search, and automated problem-solving. A well-scoped plan lets it work autonomously across your codebase and resolve issues with less back-and-forth from you.
Build the Core Web Application
A single well-structured prompt generates a working web application, frontend, database, and authentication included.
Structure Your Initial Prompt
The difference between a toy demo and a deployable application comes down to prompt specificity. The prompting guide recommends starting with four foundation questions: What is this product? Who is it for? Why will they use it? What is the one key action the user should take?
A strong initial prompt covers six areas:
- App identity: "Build a task management web application for small teams of 2–20 people that replaces spreadsheet-based task tracking."
- User roles: Admin (full access, user management), Member (create/edit own tasks, update assigned tasks), Viewer (read-only access to specified projects).
- Data fields: Task title (required), description (optional), status (To Do / In Progress / In Review / Done), priority (Low / Medium / High / Urgent), assignee, due date, project assignment.
- Status workflow rules: "When a Member moves a task to 'In Review,' notify the task creator. When a due date passes and status is still 'To Do' or 'In Progress,' display a red overdue indicator."
- Views: Login/signup, user dashboard, project Kanban board with draggable cards, task detail page with comments, admin settings panel.
- Out of scope for v1: Email notifications, file attachments, time tracking, recurring tasks, Gantt charts.
What You Get From a Single Prompt
From that prompt, you get a TypeScript/React frontend, a database schema with tables for users, projects, tasks, and comments, and an authentication system with protected routes. The output covers every layer of the stack. Full-stack applications includes frontend UI, backend databases, authentication systems, API integrations, and deployment infrastructure. All of this generates from a single natural language description.
If you want a head start before prompting from scratch, our browse templates provide a production-ready foundation you can customize from day one. While there's no dedicated task management template in the library, our Kanban solution and project management are built for exactly this use case.
One critical detail from the prompting guide: describe behavior, not aesthetics. Words like "simple" and "modern" are useless instructions for generating your data model. "Tasks move through To Do → In Progress → In Review → Done, and only Admins can mark tasks as Done" produces a specific, testable result.
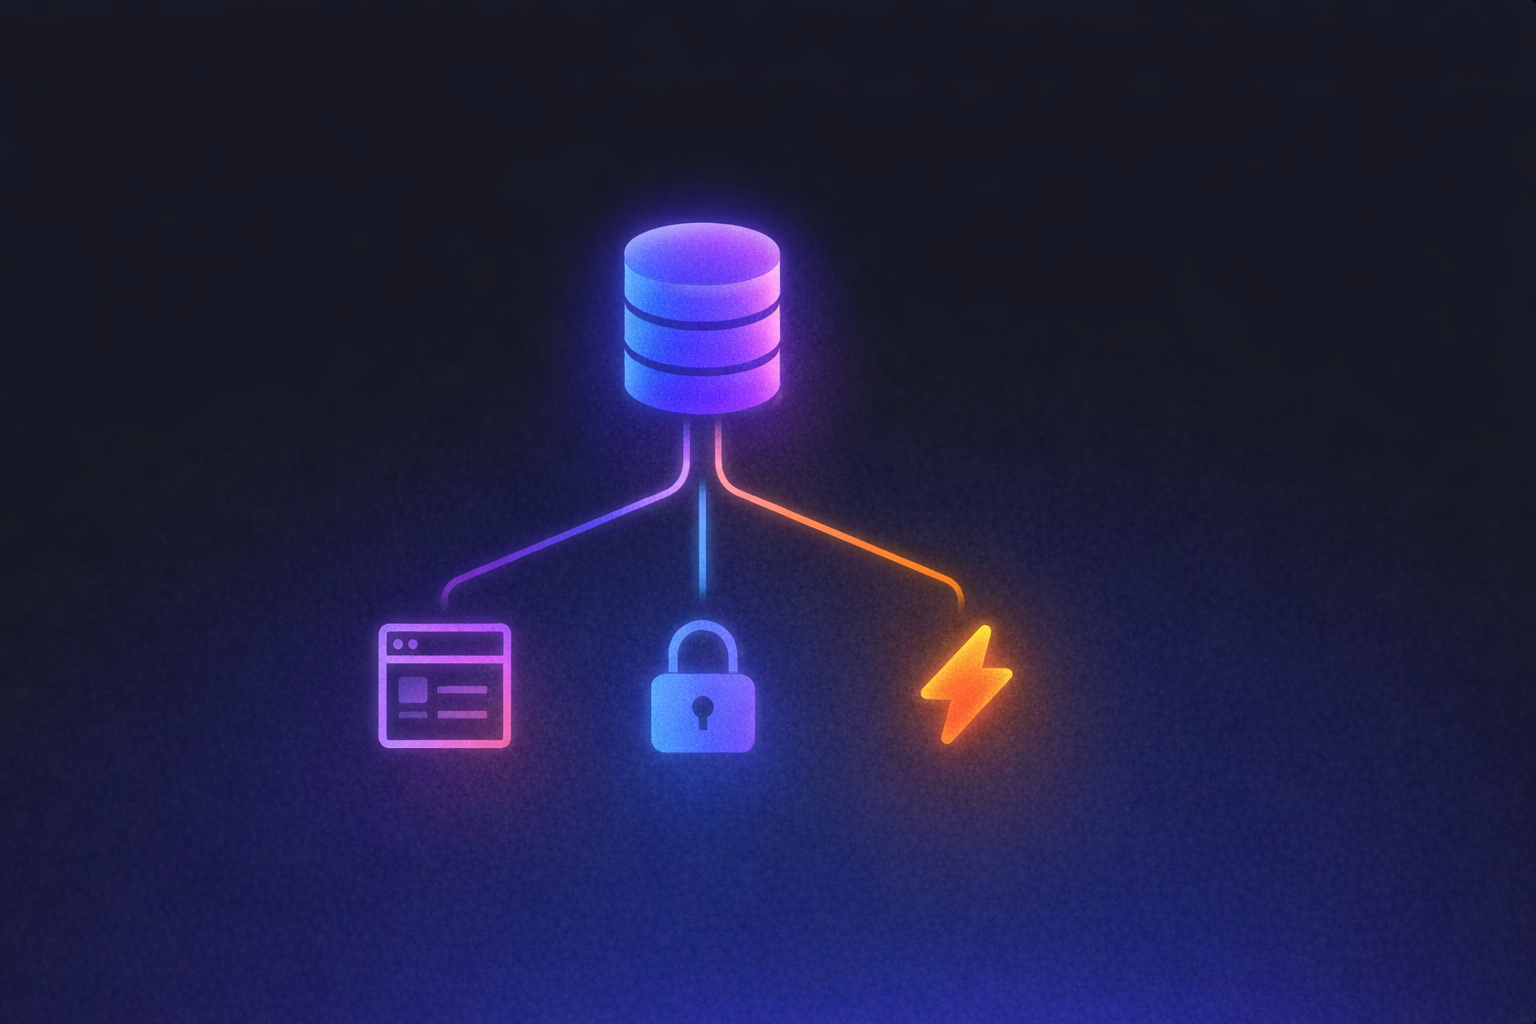
Connect Your Backend and Data Layer
Supabase docs gives your web application real-time data, persistent storage, and row-level permissions, without writing a single database query.
What This Means in Practice
When a team member creates a task, it saves instantly to a cloud PostgreSQL database. When someone updates a status, every other user sees the change in real time. When a Viewer logs in, they see only the projects they've been invited to, because row-level security rules enforce permissions in the database as well as in the interface.
We connect natively to Supabase through a single chat interface. You describe what you want, "Add login with email and password," "Store tasks in a database with real-time updates", and the integration handles table creation, authentication configuration, and permission rules automatically. The connection process takes four steps: navigate to project settings, authorize with Supabase, choose or create a project, and confirm the connection.
What the Integration Covers
You get a full PostgreSQL database with tables auto-generated from your prompts. You get authentication supporting email/password and OAuth providers like Google and GitHub. You get file storage for up to 2 GB per file, useful if you later add document attachments to tasks. And you get real-time updates that send live data changes to every connected user, making collaborative task boards feel responsive rather than stale.
The practical result: task assignments persist across sessions, project membership controls what each user sees, and every status change syncs instantly. Your task manager works like a production application because it has production infrastructure underneath it.
Refine the Interface
Once the core web application is live, Visual Edits gives you a faster way to adjust the interface. Direct UI manipulation that lets you click and modify interface elements in real-time without writing prompts. For a task manager, this means you can rearrange status columns on your Kanban board, edit task card layouts, adjust color coding for priority levels, and swap out placeholder images, all by clicking and editing directly in the live preview. Changes appear in real time before you publish, and you can even select multiple elements at once to batch-edit them simultaneously.
Batch editing accelerates this further. Hold Command (Mac) or Win (Windows) to select multiple elements and modify them simultaneously, recoloring all status badges at once, for example, or resizing every card in a column.
The credit math matters here. Visual Edits are free for layout changes, text updates, color adjustments, and image swaps. Credits only apply when you prompt the AI to modify designs or change dynamic elements. That means you can spend an hour refining your interface without touching your credit budget, treating design polish as an iterative process rather than a costly prompt chain.
Add Integrations and Deploy
Connecting version control, configuring notifications, and publishing to a custom domain turns a prototype into a production tool your team can actually use.
Sync With GitHub
GitHub docs gives you a backup of your entire codebase outside of Lovable, two-way sync so edits in either environment stay current, and the ability to invite a developer later through pull requests and code reviews. Connect your GitHub account, install the Lovable GitHub App, and link your project to a repository, sync begins automatically. If you eventually want to self-host or deploy to an alternative platform, your code is yours to take.
Add Payments if Relevant
If you're building a task management tool for clients and want to gate access behind a subscription, Stripe docs handles one-time payments and recurring subscriptions through a chat-driven setup. Describe your pricing tiers in natural language, "Add three subscription plans: Free, Pro at $19/month, and Team at $49/month", and the payment backend, database tables, and UI components generate automatically. One constraint to know: Stripe requires Supabase to be connected and the web application to be deployed before payment flows work.
Deploy and Share
If you defined notification rules in your prompt, like alerting task creators when work moves to 'In Review,' those triggers are already wired into your database logic and fire automatically. Publish app to a custom domain and start inviting team members. Your task manager is live: real users, real data, real workflows. The entire path from planning to production happens in a single environment, with vibe coding replacing the traditional cycle of wireframes, developer handoffs, and weeks of iteration.
Your Task Manager Is Live, Here's What to Build Next
You now have a deployed, working task management web application, with authentication, real-time data, role-based permissions, and a polished interface, built without hiring a developer or completing a single coding tutorial.
That same process applies to whatever you need next. With Lovable, the AI app builder for developers and non-developers, you can build a client-facing project tracker where customers log in to see delivery status and milestones, a team sprint board with automated status workflows and deadline alerts, or a freelance task portal with client login and payment gating per project. Each of these follows the same pattern: define your roles, structure your prompt, and let Agent Mode handle the execution.
Our explore templates gives you production-ready starting points for each of these use cases, so you can skip the blank-canvas phase entirely. Explore templates and have your next web application live before end of day.
If off-the-shelf tools keep forcing workarounds, start building with Lovable instead. Build a client-facing project tracker, a sprint board with custom review logic, or a freelance portal with client access and payments. Instead of settling for features that almost fit, or waiting through a traditional build cycle, you can ship a task management workflow that matches how your team actually works, in hours instead of months, and keep full control as it evolves into something bigger.
Check each provider's official documentation for the latest pricing and feature details.