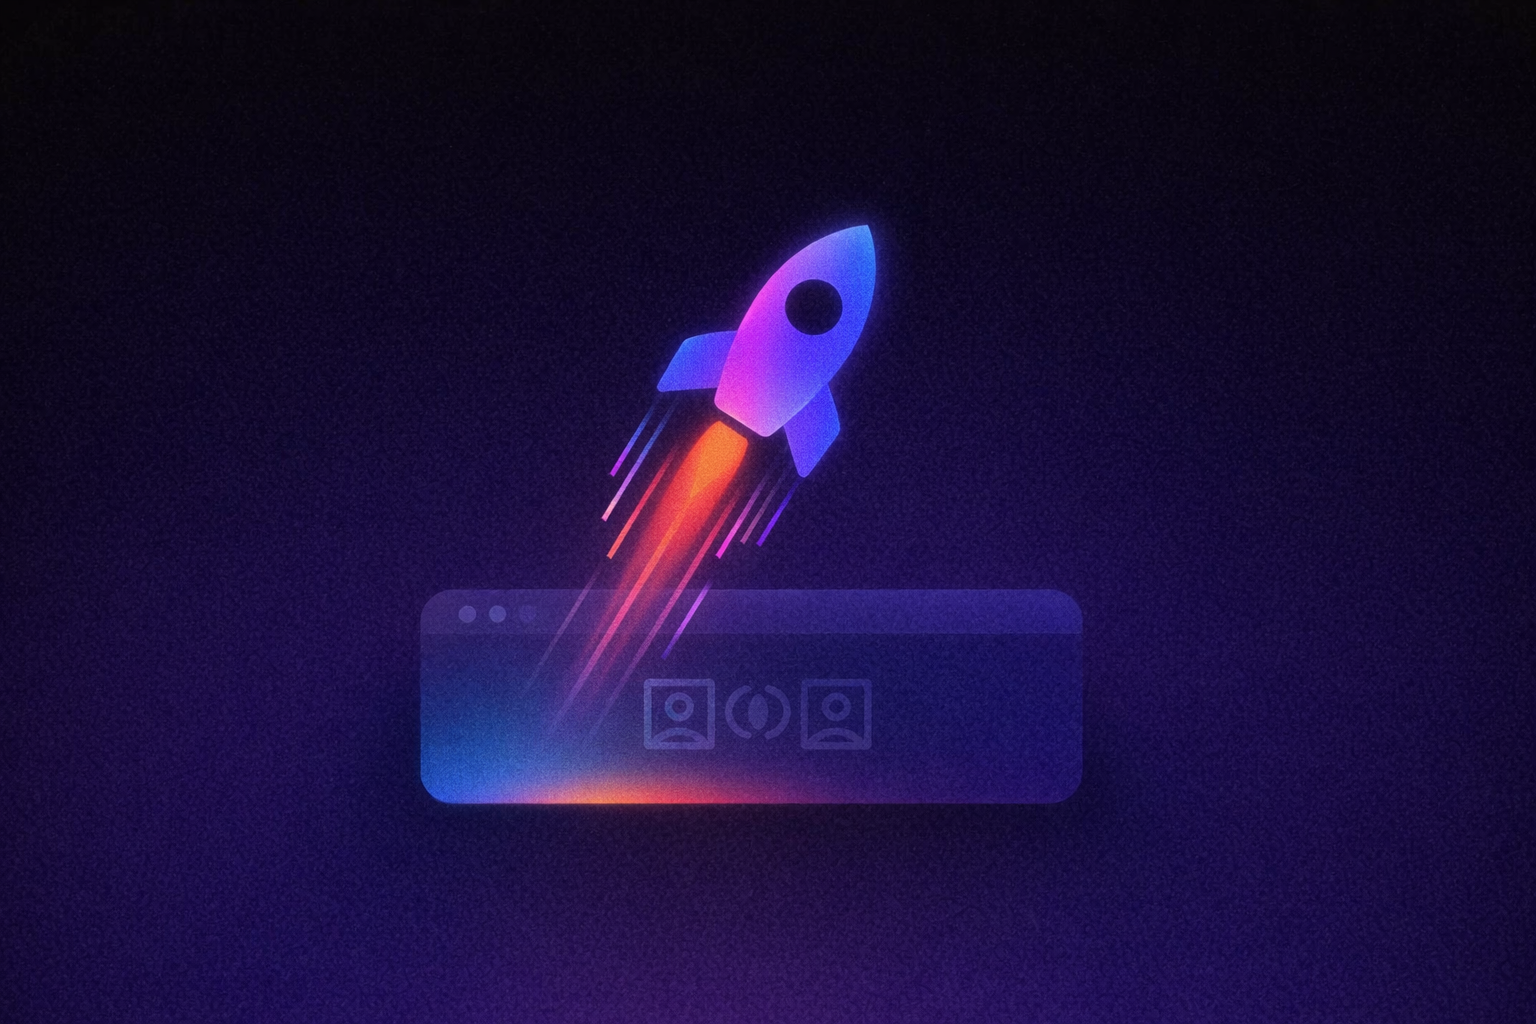
Most people overcomplicate the early stages of how to set up a blog. They jump straight into themes, plugins, workflows, or design tweaks before writing a single post. The truth is that you can launch a clean, functioning blog in a matter of days when you follow the right sequence.
This guide walks you through that sequence from defining needs to choosing a platform to publishing your first post using tools like WordPress, Wix, Squarespace, or AI powered builders like Lovable. The goal is simple: get your blog live, easy to navigate, and ready for readers.
Step 1: Decide What Your Blog Actually Needs
Before you learn how to set up a blog on any platform, get clear on your core requirements so your build stays focused.
Skip the vision boards and content calendars. Start with three concrete decisions that determine your technical requirements:
Content types you'll publish: Will you write text-only posts, or do you need image galleries, code snippets, embedded videos, or interactive elements? A marketing team showcasing case studies needs different capabilities than someone writing technical tutorials.
Team access requirements: Solo operation, or will you have writers, editors, and reviewers? WordPress supports granular user roles (Administrator, Editor, Author, Contributor). Template builders typically offer simpler team management. AI-powered no-code builders let you describe team workflows and generate appropriate admin interfaces.
Integration needs: Do you need email newsletter signups, customer data connections, or API integrations with your existing business tools? These requirements eliminate certain platforms immediately.
Write down your answers before researching platforms. "I need to publish weekly case studies with images, have one writer besides myself, and collect email addresses for our newsletter." That is enough to make platform decisions.
Most builders overthink this step. You are not committing to five years of content strategy. You are defining minimum viable blog requirements to guide platform selection and initial setup.
Step 2: Choose Your Platform: Speed vs. Control
Platform choice comes down to shipping speed versus long-term control. Fast launch means accepting limitations. Maximum control means ongoing maintenance responsibility. Neither approach is objectively better; the right choice depends on your specific constraints.
Template Builders for Quick Launch
Wix and Squarespace get you live in 1.25-3.5 hours. Their drag-and-drop editors make sense when you need:
- Professional design without coding
- Rapid deployment with zero infrastructure management
- Built-in hosting, security, and feature updates
The trade-off: you're locked into their ecosystem. No server access, limited custom functionality, and vendor dependency for all technical aspects.
Choose template builders when you can accept their feature limitations in exchange for never managing technical infrastructure. This works well when you need professional design without ongoing maintenance responsibility.
WordPress for Maximum Control
Self-hosted WordPress requires modern hosting (PHP 8+ and MySQL 8+) and takes 2.5-9 hours depending on customization needs. You get:
- Complete source code modification
- Unrestricted plugin ecosystem
- Hosting provider choice and data ownership
The cost: you're responsible for security updates, server management, backup strategies, and plugin compatibility testing.
WordPress makes sense when you need custom functionality unavailable in plugins, when hosting flexibility is essential, or when complete data ownership is non-negotiable. It is unnecessary overhead if you only need to publish articles and collect email addresses.
AI-Powered No-Code Builders for Full-Stack Speed
AI-powered no-code builders like Lovable can generate complete applications quickly. These platforms work well when you want to focus on content and strategy rather than technical setup. Unlike template builders, many provide access to the generated code for customization.
Lovable's approach allows you to describe what you want to build in plain English, and the platform generates a working application. Development time varies based on complexity and specific requirements, but AI-assisted builders significantly reduce the technical barriers compared to traditional coding.
AI does not replace creativity. It handles the technical implementation while you focus on content strategy and user experience.
Decision framework: If you need to ship quickly and want code ownership, explore AI-powered no-code builders. If you need specific plugins and WordPress hosting infrastructure, stick with WordPress. If you want professional templates without maintenance, use Wix or Squarespace.
Step 3: Set Up Your Domain and Connect It to Your Site
Your domain is your blog's permanent address. Register it through any registrar, then point it to wherever your blog lives.
Think of this like updating your address. You are telling the internet where to find your blog. Most platforms handle this automatically in their dashboard settings.
Register Your Domain
Pick something short and memorable that matches your brand. Avoid hyphens, numbers, or anything you need to spell out loud. If your business name is taken, try adding descriptive words: "smithconsultingblog.com" or "smithmarketinginsights.com."
Stick with .com unless you have specific reasons for alternatives. Register through any major provider (Namecheap, GoDaddy, Google Domains). Annual cost runs $10-15 for standard domains.
Connect Domain to Your Platform
For template builders: Add your domain in their dashboard settings. Wix, Squarespace, and similar platforms handle domain configuration and SSL certificates automatically.
For self-hosted solutions: You'll configure domain settings manually through your hosting provider or registrar's DNS management panel.
For AI-powered no-code builders: Platforms like Lovable handle deployment and hosting automatically. Connect domains through their settings, and they configure security and routing for you.
Domain changes take 24-48 hours to propagate everywhere, but most updates are visible within a few hours.
Step 4: Configure Core Settings and Site Structure
Configure URLs, security, and search visibility before publishing any content.
Three settings require immediate attention because changing them later creates problems:
Clean URLs: Use /how-to-blog/ instead of /?p=123. Do this before publishing any content. Changing URL structure later breaks every existing link.
Security setup: Enable HTTPS/SSL certificates. Google prioritizes secure sites, and browsers show warnings for non-secure sites. Most modern platforms enable this automatically.
Search engine visibility: In WordPress, make sure "Discourage search engines from indexing this site" is unchecked. If left checked, you get zero organic traffic.
Legal pages are required. Privacy policies are legally required if you collect any data, including analytics cookies or email addresses. WordPress includes a privacy policy generator in Settings > Privacy. Template builders often provide legal page templates. Terms of service should be published before accepting comments or registrations.
If you use an AI powered builder such as Lovable, many configuration tasks happen automatically during deployment. Clean URLs, SSL, and routing are active by default, which helps you avoid early setup problems.
Step 5: Design Your Layout Without Overbuilding
When you understand how to set up a blog without getting lost in design choices, you launch faster and avoid unnecessary revisions
Choose Your Visual Direction
Start with content type, not aesthetics. Technical blogs need code highlighting. Portfolio blogs need strong image display. Business blogs need professional credibility through readable typography and clear navigation.
Most platforms offer themes organized by purpose:
- WordPress has thousands of options
- Template builders provide curated galleries
- AI-powered no-code builders can generate designs from descriptions: "clean business blog with sidebar, professional but not corporate, good mobile experience"
Mobile responsiveness is essential. Over 60% of web traffic comes from smartphones. Every modern theme handles this automatically, but test your choice on an actual phone.
Choose quickly and move on. Content quality matters a lot compared to visual perfection.
Customize Key Elements Only
Limit initial customization to four areas:
Colors and fonts should reflect your brand without overwhelming content readability. Stick to high contrast combinations, minimum 16px font size and readable contrast ratios.
Logo and header establish credibility. A simple text-based logo often works better than complex graphics. Your header should include clear navigation to your archive and about page.
Content layout needs clear hierarchy. Posts should have obvious headlines, readable body text, and scannable structure with subheadings and bullet points.
Basic sidebar or footer can include newsletter signup, recent posts, or contact information. Do not overcomplicate; readers came for your content.
Stop there. Ship with clean, readable design, then iterate based on actual user feedback.
Step 6: Write and Publish Your First Post
Your first post establishes your voice and workflow. Aim for useful, clear content rather than perfection.
Set Up Your Editor
Most modern platforms use visual editors that work like word processors:
- WordPress's block editor lets you add elements by typing "/" followed by element type
- Ghost has contextual formatting with slash commands
- Wix and Squarespace offer drag-and-drop interfaces
AI powered builders such as Lovable often generate the editor interface and the backend structure for posts, categories, and media handling. This removes early friction and lets you begin writing immediately.
Learn the basics: formatting text, adding subheadings, inserting images, and creating links. Organize content with 3-5 broad categories like "Case Studies," "How-To Guides," and "Company News."
Configure SEO fields if available. Title should be under 60 characters, meta description under 160 characters.
Write Content That Ships
Your first post should solve one specific problem your audience faces clearly, rather than trying to cover everything you know.
Structure for shipping:
- Clear headline promising specific benefit
- Brief introduction explaining what readers will learn
- Subheadings breaking content into sections
- Concrete conclusion with actionable next steps
Keep paragraphs short (2-4 sentences) and use bullet points for lists. People scan blog posts, so make scanning easy.
Include at least one image with descriptive alt text. Featured images should be 1200x630px for optimal social sharing.
Publish Settings
Clean up your URL before publishing. Instead of "my-first-blog-post-about-marketing-strategies," use "marketing-strategies-small-businesses."
Choose your categories and add 3-5 relevant tags. Set your featured image for social sharing. Preview your post on both desktop and mobile before publishing.
Hit publish. Done is better than perfect, and you can always edit published content later.
Step 7: Install Analytics and Track Performance
Set up analytics tracking before promoting your blog so you can monitor which content drives traffic from day one.
Install Google Analytics to track which posts people read. Most platforms have simple integration settings where you paste your tracking code. Create a Google Analytics 4 property, get your tracking ID, and add it to your site.
Alternative tools like Plausible offer privacy-focused tracking that is simpler to understand.
Verify installation immediately:
- Check Google Analytics' real-time reports while browsing your site in another browser tab
- You should see active users and page views appearing within minutes
- Set up at least one conversion goal: newsletter signups, contact form submissions, or specific page visits that indicate business value
Step 8: Promote Your First Posts and Build Early Momentum
Your blog will not be discovered organically until you have content volume and backlinks. Start by directly distributing your content to your network.
Direct Distribution
Email your content to relevant contacts who might find it useful. Not a mass blast, but personal messages to people who would genuinely benefit. "I just wrote about X problem you mentioned; thought you might find this helpful."
Share on social platforms where your audience spends time:
- LinkedIn for B2B content
- Twitter for tech topics
Do not just post links. Add context about why this matters.
Participate in relevant communities and forums. Answer questions in Facebook groups, Reddit communities, or industry forums. Share your content as supporting evidence when appropriate.
Ask friends and colleagues to share if they found value in your content.
Step 9: Build Long-Term Discovery
Consistent publishing beats perfect content every time. Commit to a realistic schedule (weekly, bi-weekly, or monthly) and stick to it.
Target one primary keyword per post while prioritizing reader value over search engines. Good content naturally includes relevant keywords.
Build email signup options throughout your site:
- Newsletter subscribers become your owned audience
- Not dependent on platform algorithms
Create internal links between related posts as you publish more content.
This helps readers discover relevant information and search engines understand your content relationships.
Launch Now and Improve Through Publishing
Once your blog is live with its first posts and core structure, the real value comes from how quickly you can adapt, publish, and improve. WordPress and template builders can support that work, but AI powered tools like Lovable remove much of the early friction that slows people learning how to set up a blog.
You set your requirements, secure clean URLs, choose a simple layout, publish clear content, and track performance. Lovable speeds up those steps by generating a complete starting point from a plain language description and handling the technical setup for you.
If you want a faster path to a working blog and a smoother publishing workflow, start your build with Lovable and move straight into creating content.